Improve Your Home with Professional Painters
Introduction
Welcome to Hughes Painting Inc., the leading home services and painters company dedicated to transforming your house into a beautiful, inviting space. With years of experience and a team of highly skilled professionals, we take pride in delivering exceptional paint jobs that exceed your expectations. In this article, we will guide you through the process of prepping your house for painting so that you can achieve flawless and long-lasting results. Let's dive in!
Importance of Prepping Your House for Painting
Before you embark on your painting project, it is crucial to properly prepare your house to ensure the best results. Prepping your house for painting not only enhances the overall appearance but also extends the lifespan of the paint job, protecting your investment in the long run. Here are some key reasons why preparing your house is essential:
- Surface Durability: By removing dirt, grime, and loose paint, you create a smooth base for the new paint to adhere to, resulting in a durable and long-lasting finish.
- Improved Aesthetics: Proper surface preparation eliminates any imperfections, such as cracks or holes, ensuring a flawless end result that enhances the beauty of your home.
- Cost-Effective: Investing time in prepping your house saves you money by reducing the number of paint coats required and minimizing the need for touch-ups in the future.
- Time Efficiency: Adequate preparation allows for a more efficient painting process, ensuring that each coat is applied smoothly and evenly, ultimately saving you time.
The Process of Prepping Your House for Painting
1. Cleaning the Surfaces
The first step in prepping your house for painting is to thoroughly clean the surfaces that will be painted. This includes removing any dirt, dust, grease, or mildew using a mixture of mild detergent and water. Use a sponge or soft brush to scrub the surfaces gently. Rinse the area with clean water and allow it to dry completely before proceeding to the next step.
2. Removing Loose or Damaged Paint
To ensure a smooth and even paint application, it is important to remove any loose or damaged paint from the surfaces. Start by scraping off the loose paint using a scraper or putty knife, being careful not to damage the underlying surface. After removing the loose paint, sand the area using sandpaper to create a smooth surface for the new paint to adhere to.
3. Repairing Imperfections
Inspect the surfaces for any cracks, holes, or imperfections. Fill these areas with a suitable filler or spackle, using a putty knife to achieve a level surface. Once the filler has dried, sand it down until it is smooth and blends seamlessly with the surrounding area.
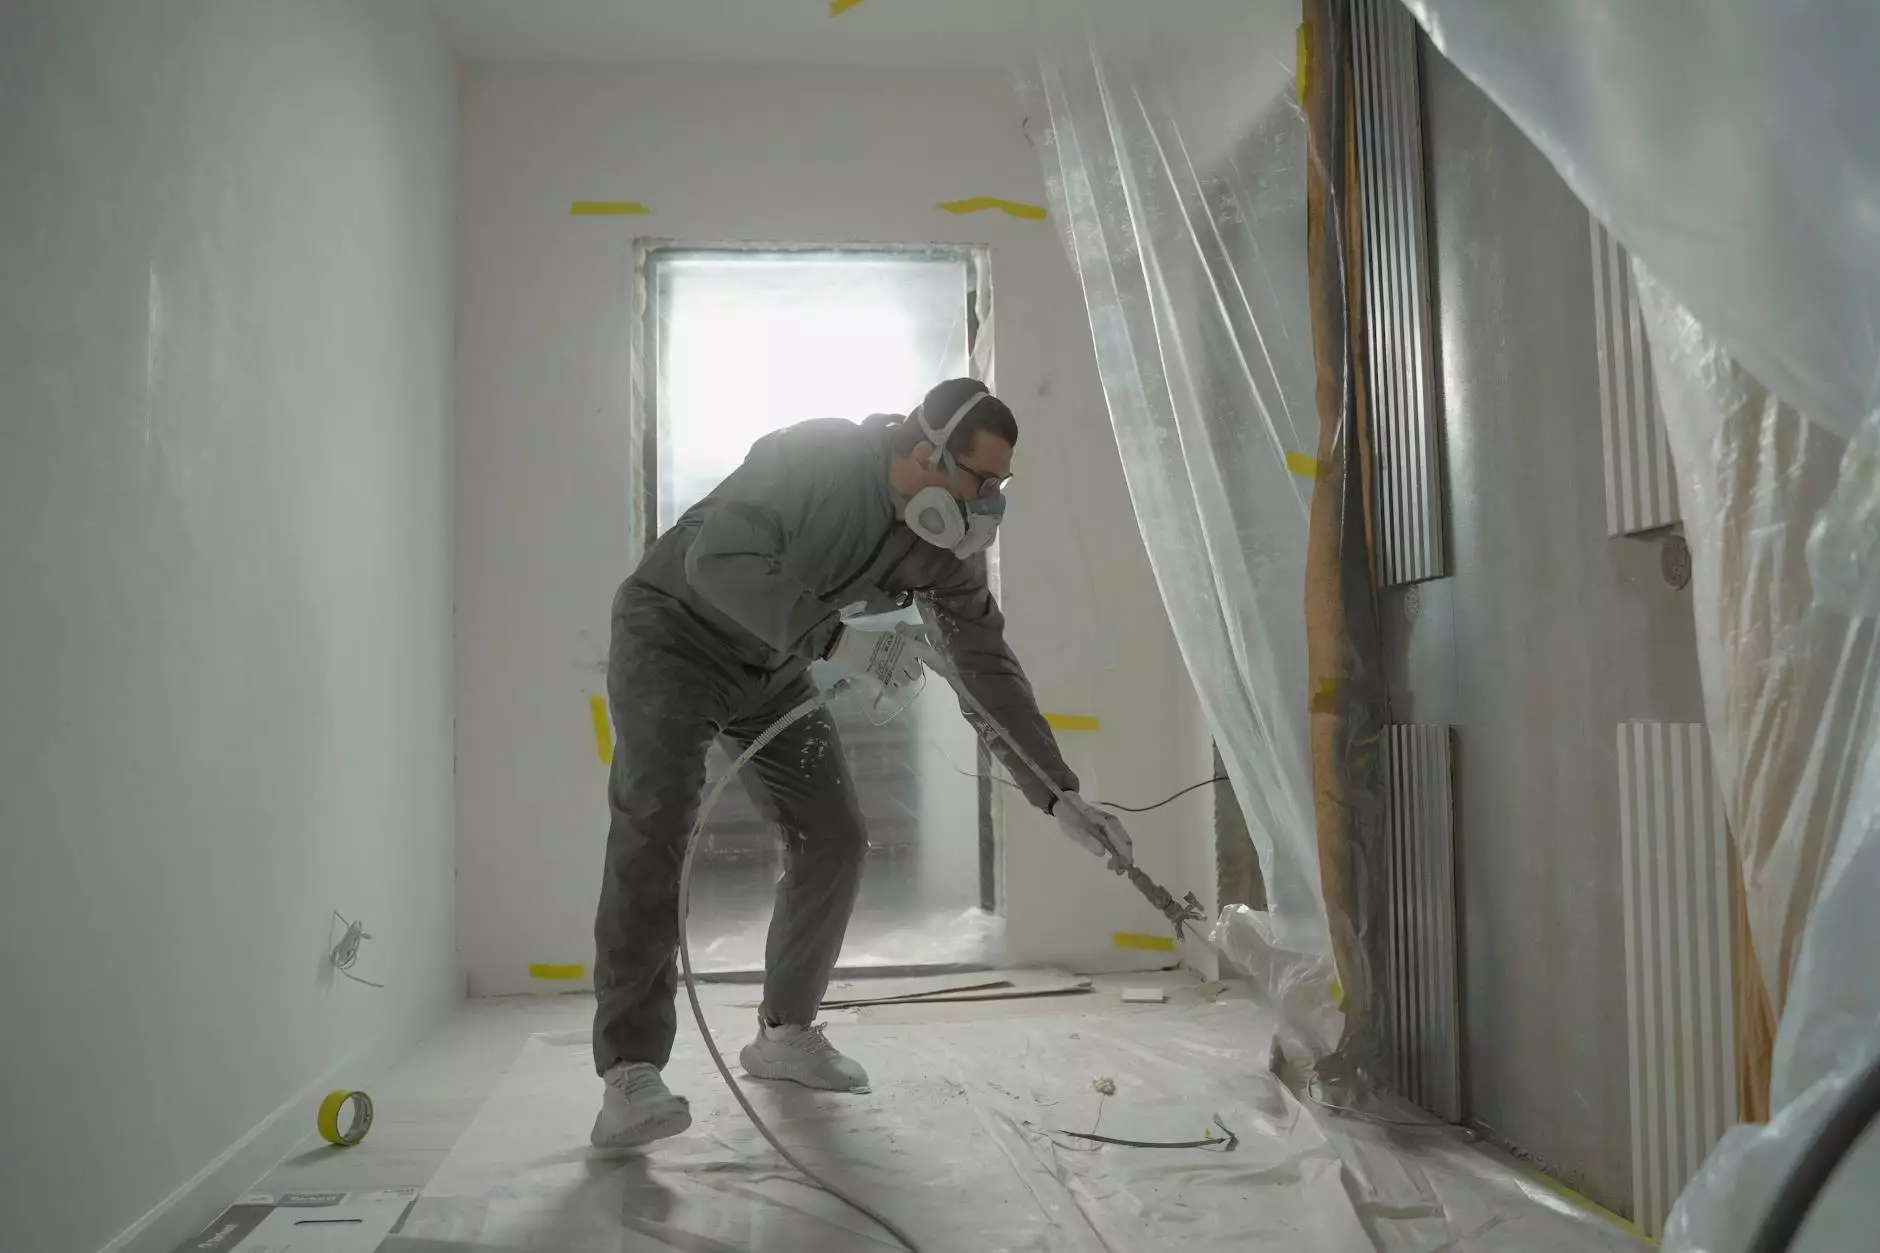
4. Protecting Surfaces and Trim
Before you start painting, it is essential to protect surfaces and trim that will not be painted. Cover areas such as windows, doors, trims, furniture, and floors using drop cloths, plastic sheets, or painter's tape. This prevents accidental paint splatters and ensures a clean finish.
5. Priming the Surfaces
Priming the surfaces before applying the top coats of paint is highly recommended, especially when painting over bare wood or stained surfaces. A quality primer helps seal the surface, enhances paint adhesion, and improves the overall durability of the paint job. Choose a primer suitable for the type of surface you are painting and apply it evenly using a brush or roller. Allow the primer to dry as per the manufacturer's instructions before proceeding with the next step.
6. Choosing the Right Paint
Selecting the right paint is crucial for achieving a professional finish. Consider factors such as the type of surface, the desired sheen, and the durability required. Our team at Hughes Painting Inc. can assist you in choosing the perfect paint for your project, ensuring exceptional results that stand the test of time.
7. Applying the Paint
It's finally time to apply the paint! Use high-quality brushes or rollers to ensure smooth and even coverage. Start from the top and work your way down, applying thin and even coats of paint. Allow each coat to dry completely before applying the next. This process will help you achieve a flawless finish while minimizing the risk of paint drips or streaks.
8. Post-Painting Cleanup
Once you've completed the paint job, it's important to clean up properly. Remove any paint splatters or spills immediately to prevent them from drying and becoming difficult to remove. Clean your brushes and rollers thoroughly with water or the appropriate cleaning solution as recommended by the paint manufacturer. Proper cleanup ensures that your painting tools are well-maintained and ready for future use.
Conclusion
Prepping your house for painting is a crucial step that should not be overlooked. By following the steps mentioned above, you can ensure a smooth, durable, and visually appealing paint job that enhances the beauty and value of your home. At Hughes Painting Inc., we pride ourselves on delivering outstanding results, and our team of skilled professionals is ready to transform your house into a home you'll love. Contact us today for all your painting needs!
how to prep your house for painting